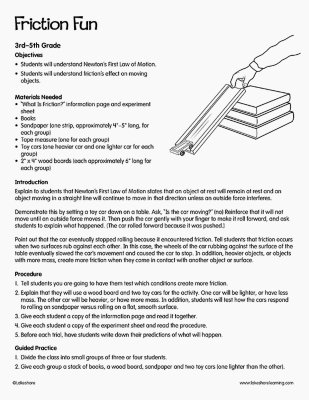
Objectives Students will understand Newton’s First Law of Motion. Students will understand friction’s effect on moving objects. Materials Needed “What Is Friction?” information page and experiment sheet Books Sandpaper (one strip, approximately 4" - 5" long, for each group) Tape measure (one for each group) Toy cars (one heavier car and one lighter car for each group) 2" x 4" wood boards (each approximately 6" long for each group) Introduction Explain to students that Newton’s First Law of Motion states that an object at rest will remain at rest and an object moving in a straight line will continue to move in that direction unless an outside force interferes. Demonstrate this by setting a toy car down on a table. Ask, “Is the car moving?” (no) Reinforce that it will not move until an outside force moves it. Then push the car gently with your finger to make it roll forward, and ask students to explain what happened. (The car rolled forward because it was pushed.) Point out that the car eventually stopped rolling because it encountered friction. Tell students that friction occurs when two surfaces rub against each other. In this case, the wheels of the car rubbing against the surface of the table eventually slowed the car’s movement and caused the car to stop. In addition, heavier objects, or objects with more mass, create more friction when they come in contact with another object or surface.
Objectives CCSS Math: Measurement & Data 3.MD.A.1: Tell and write time to the nearest minute and measure time intervals in minutes. Solve word problems involving addition and subtraction of time intervals in minutes, e.g., by representing the problem on a number line diagram. 4.MD.A.2: Use the four operations to solve word problems involving distances, intervals of time, liquid volumes, masses of objects, and money, including problems involving simple fractions or decimals, and problems that require expressing measurements given in a larger unit in terms of a smaller unit. Represent measurement quantities using diagrams such as number line diagrams that feature a measurement scale. Materials Needed Lakeshore Magnetic Teaching Clock Lakeshore Student Clocks - Set of 12 “Elapsed Time Word Problems” activity page Elapsed time worksheet Introduction Ask a student what time school starts. Write this time on the board under the heading “Start Time.” Then ask another student what time school ends. Write this time next to the start time under the heading “End Time.” Ask, “From the time school starts to the time it ends, how much time elapses, or passes?” (Invite students to respond and explain their reasoning and calculations.) Hold up the teaching clock and demonstrate how to set the clock at the start time and count the hours and minutes until the end time. (Hint: Move the hour hand first and have students count the hours aloud with you. Then move the minute hand and have them count the minutes.) Explain to students that you are going to teach them some strategies to help them calculate elapsed time.