Narrow by Grade
- Infant (0)
- Toddler (0)
- Preschool (0)
- Pre-K (2)
- Kindergarten (1)
- 1st (0)
- 2nd (0)
- 3rd (0)
- 4th (0)
- 5th (0)
- 6th & Up (0)
Grade
Narrow by Age
- 0-18m (0)
- 18-36m (0)
- 3 yrs. (0)
- 4 yrs. (2)
- 5 yrs. (1)
- 6 yrs. (0)
- 7 yrs. (0)
- 8 yrs. (0)
- 9 yrs. (0)
- 10 yrs. (0)
- 11 yrs. & Up (0)
Age
2 results for "heavy"
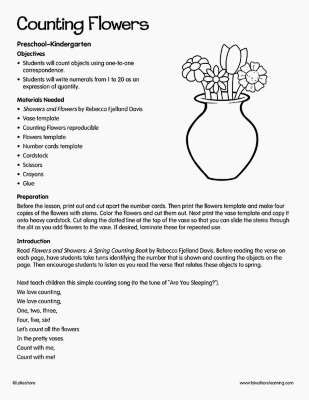
Counting Flowers
Pre-K
Objectives Students will count objects using one-to-one correspondence. Students will write numerals from 1 to 20 as an expression of quantity. Materials Needed Flowers and Showers: A Spring Counting Book by Rebecca Fjelland Davis Vase template Counting Flowers reproducible Flowers template Number cards template Cardstock Scissors Crayons Glue Preparation: Before the lesson, print out and cut apart the number cards template. Then print the flowers template and make four copies of the flowers with stems. Color the flowers and cut them out. Next print the vase template and copy it onto heavy cardstock. Cut along the dotted line at the top of the vase so that you can slide the stems through the slit as you add flowers to the vase. If desired, laminate these for repeated use. Introduction Read Flowers and Showers: A Spring Counting Book by Rebecca Fjelland Davis. Before reading the verse on each page, have students take turns identifying the number that is shown and counting the objects on the page. Then encourage students to listen as you read the verse that relates these objects to spring. Next teach children this simple counting song (to the tune of “Are You Sleeping?”). We love counting, We love counting, One, two, three, Four, five, six! Let’s count all the flowers In the pretty vases. Count with me, Count with me!
View Lesson Plan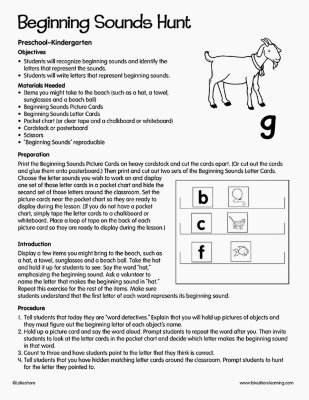
Beginning Sounds Hunt
Pre-K - Kindergarten
Objectives Students will recognize beginning sounds and identify the letters that represent the sounds. Students will write letters that represent beginning sounds. Materials Needed Items you might take to the beach (such as a hat, a towel, sunglasses and a beach ball) Beginning Sounds Picture Cards Beginning Sounds Letter Cards Pocket chart (or clear tape and a chalkboard or whiteboard) Cardstock or posterboard Scissors “Beginning Sounds” reproducible Preparation: Print the Beginning Sounds Picture Cards on heavy cardstock and cut the cards apart. (Or cut out the cards and glue them onto posterboard.) Then print and cut out two sets of the Beginning Sounds Letter Cards. Choose the letter sounds you wish to work on and display one set of those letter cards in a pocket chart and hide the second set of those letters around the classroom. Set the picture cards near the pocket chart so they are ready to display during the lesson. (If you do not have a pocket chart, simply tape the letter cards to a chalkboard or whiteboard. Place a loop of tape on the back of each picture card so they are ready to display during the lesson.) Introduction Display a few items you might bring to the beach, such as a hat, a towel, sunglasses and a beach ball. Take the hat and hold it up for students to see. Say the word “hat,” emphasizing the beginning sound. Ask a volunteer to name the letter that makes the beginning sound in “hat.” Repeat this exercise for the rest of the items. Make sure students understand that the first letter of each word represents its beginning sound.
View Lesson Plan